1) Prerequisites
This tutorial assumes you have:
- Windows 10 installed on your PC
- Internet connection
2) Downloading the Python Installer
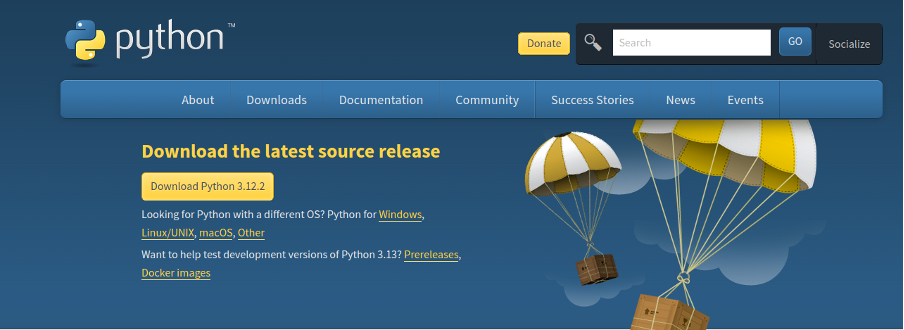
Wait for the download to complete.
3) Running the Installer
After downloading the installer, navigate to your Downloads folder and double-click the .exe file. It will initialize the installation process.
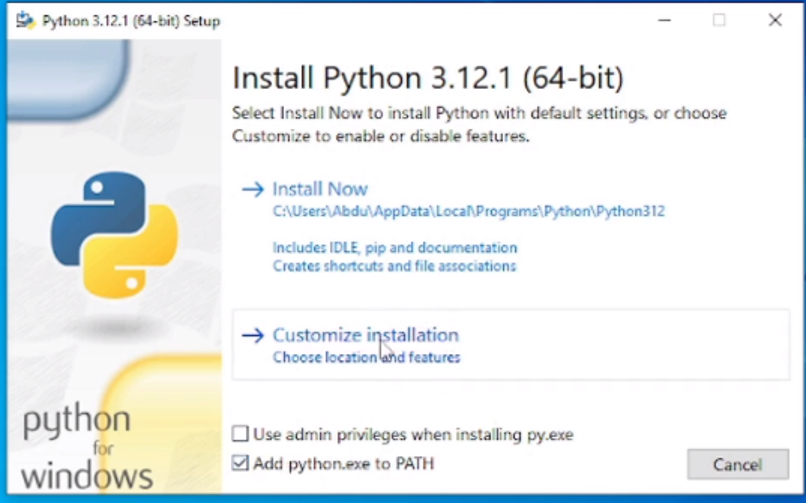
You can choose Install Now or Customize Installation. The Install Now option is ideal if you are new to Python. It will install all the default features.
Customize Installation is ideal if you want to install advanced features. In this tutorial, we will choose the Customize Installation option.
Select Add python.exe to PATH, which allows you to launch Python and run scripts from any terminal or command prompt directory.
Click Next and the Optional Features dialog will appear. You can choose all or some of the features.
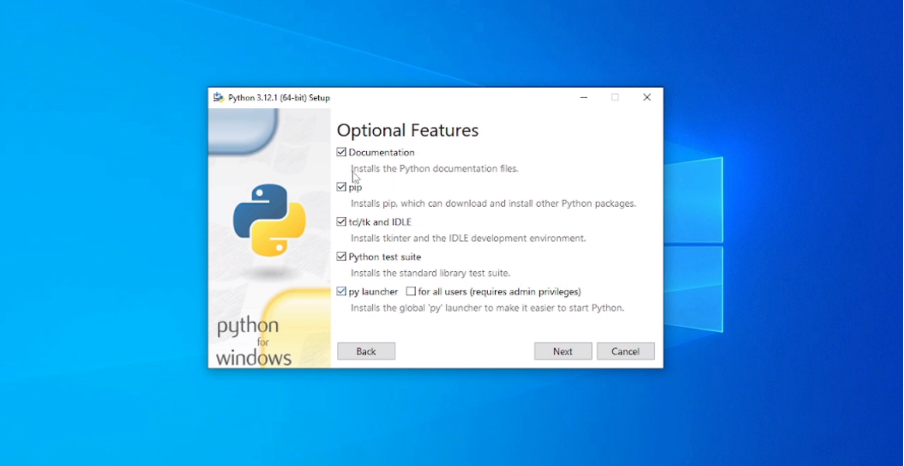
Documentation option (recommended) installs Python’s documentation. pip allows you to install other Python packages. tcl/tk and IDLE allow you to use the IDLE environment. The Python test suite makes testing your Python scripts easy.
Finally, the py launcher and for all users enables all users to run Python from the terminal.
Click Next and the Advanced Options dialog will display.
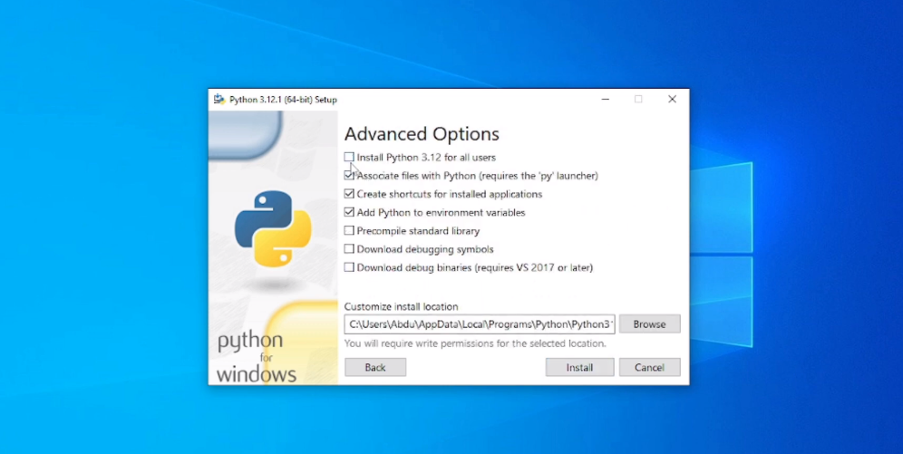
From here, you can choose to install Python for all users, precompile the standard library, and download debugging symbols, among others.
Some of the recommended options are:
- Install for all users
- Associate files with Python
- Create shortcuts for installed applications
- Add Python to environment variables
While not recommended, you can customize the installation directory. Click Install to start the installation process.
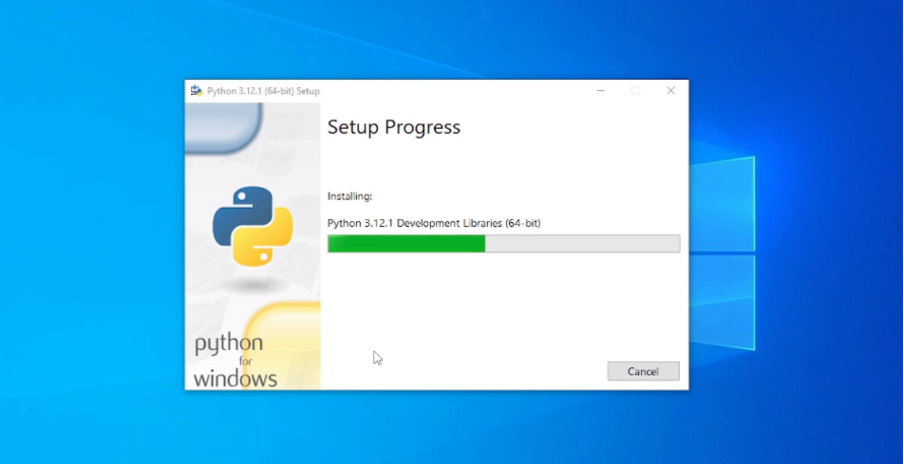
Once done, a Setup was successful message will appear. Click Close to close the dialog.
4) Verifying Python Installation
You can verify that the installation process was successful by opening the command prompt or through the Integrated Development Environment (IDLE) if you have installed it.
To use the command prompt, click Start and type cmd in the search bar. Click Command Prompt and enter the Python –version command.
Python --version
It will display the Python version currently installed on your PC. For example,
					Output
Python 3.12.1
Conclusion
Now you have Python installed on your Windows 10 PC. You can start using it to learn coding. There are many online learning resources, ranging from YouTube to free and paid courses.