How To Create A Shortcut On Desktop On Windows 10 And 11
March 3, 2024
By
maribh
Desktop shortcut serves as a tool in enhancing user experience. Creating a desktop shortcut provides convenience to people. It provides quick access to frequently used files, programs, and websites. It saves people time from navigating through their computers and searching for these frequently used systems.
Creating a shortcut on the desktop in Windows 10 and Windows 11 is a straightforward process. Here’s how to do it:
For Files Or Folders
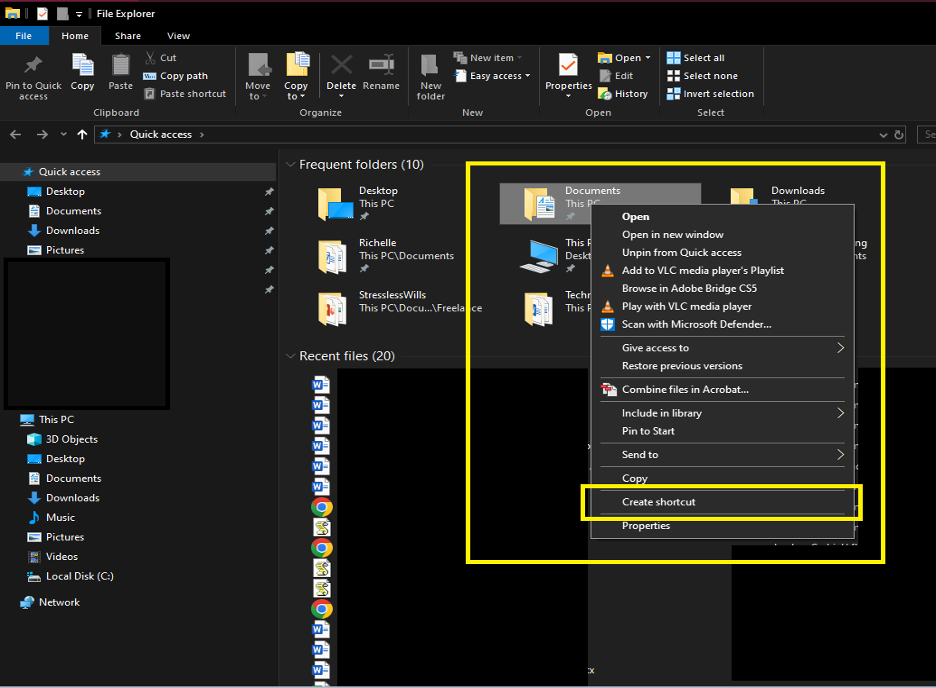
Open File Explorer. To open File Explorer, press the Windows logo key + E on the keyboard.
Locate the file or folder you want to create a shortcut for.
Right -click the item and this will open a context menu then select the “Create shortcut” from the list.
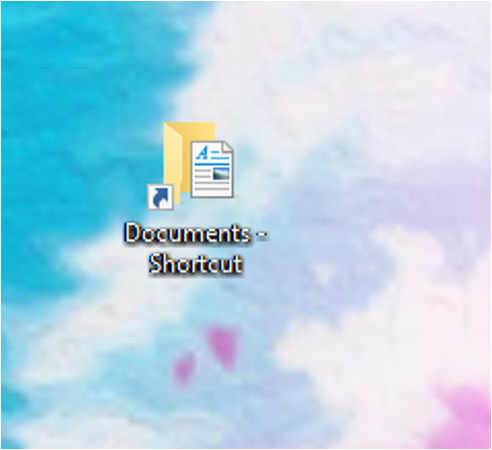
A shortcut of the item will be created on your desktop.
For Program
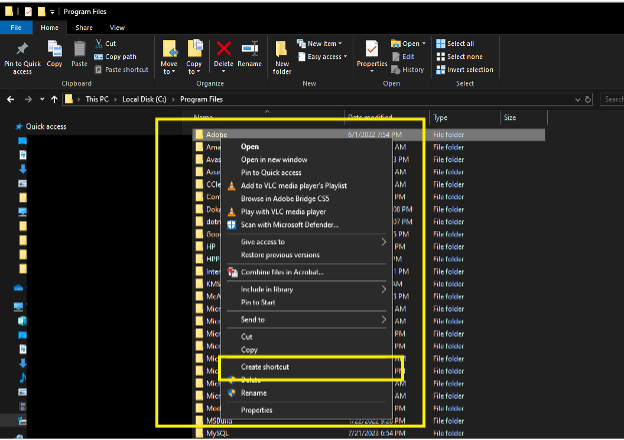
Open Program Files. Go to Start menu open the Local Disk (C:) drive and then select the Program Files
Locate the Program you want to create shortcut for.
Right-click on the Program then select Create shortcut
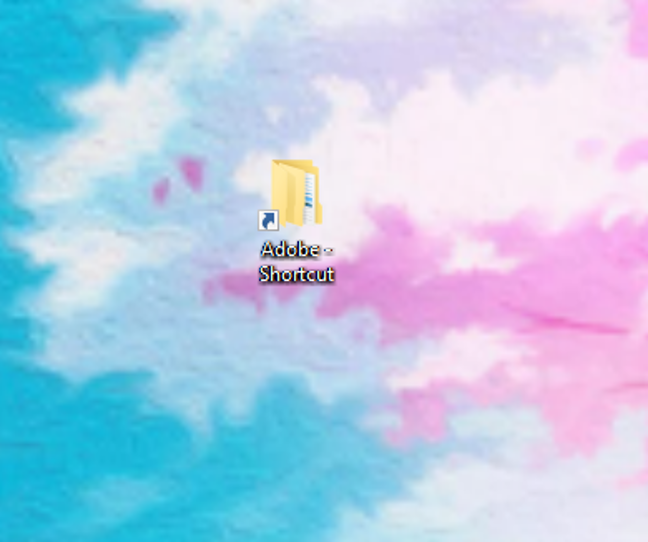
A shortcut for the Program will be created on your desktop
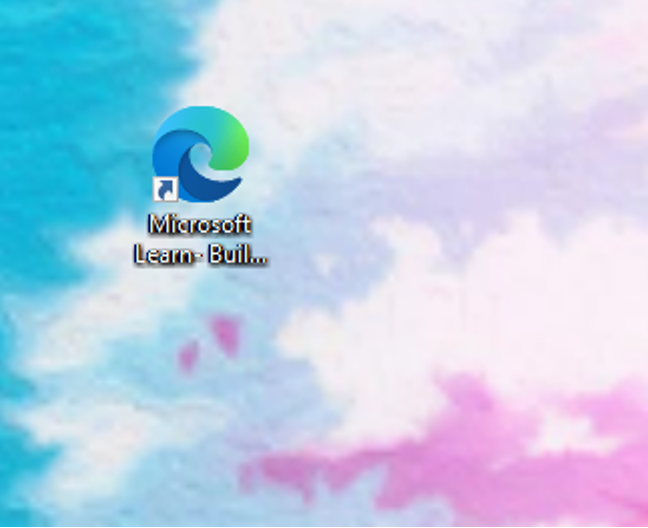
For Website
Launch your web browser; Chrome, Edge, or Firefox.
Open the URL of the website that you want to create shortcut for.
Once the page is loaded, click the icon beside the address bar and drag and drop it into your desktop.
A shortcut for the website will be created on your desktop
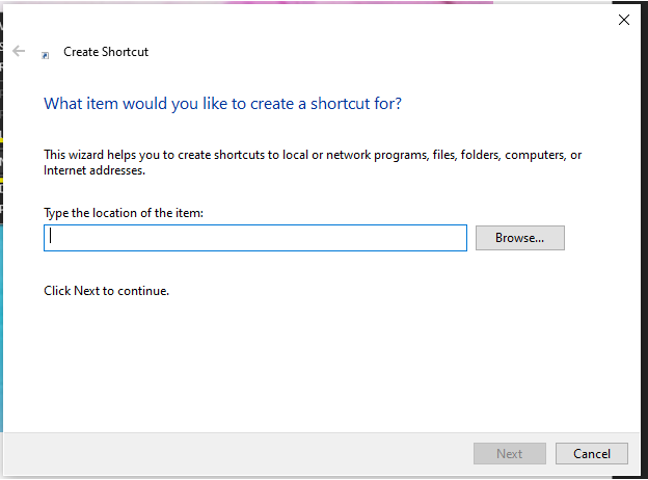
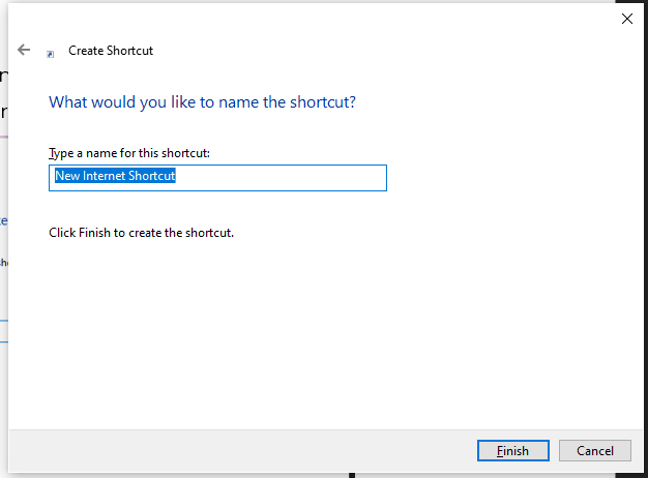
Alternately, you can manually create a desktop shortcut by doing the following:
From the desktop, right-click on an empty area to open the context menu
Click on New, then Shortcut.
Browse to the location of the File, Folder, or Program that you want to create shortcut for. For website, type the URL and click on Browse.